Electrical Upgrade During Your Remodel
If I Remodel My Home, Do I Need an Electrical Upgrade too?
People are updating their kitchens, their bathrooms, their home offices, etc. with remodeling plans they’ve been dreaming about for a few years now. But with these remodels, these questions always come up:
Do I need an electrical upgrade during my remodel?
Should I get an electrical upgrade at the same time, before, or after the remodel?
Good questions, the answers to which largely depend on the home and the remodeling projects being done. But the majority of the time, the answers are:
Yes, you probably need an electrical upgrade, and…
It’s usually more cost effective and safer to do the electrical upgrade at the same time as the remodeling project.
Of course, your home or circumstance may be different, but more often than not, you’ll want to take an electrical upgrade into account if you’re doing any major remodeling project in your home, particularly when it comes to kitchens, bathrooms, home offices, entertainment rooms or additions.
Why Do I Need an Electrical Upgrade with My Remodeling Project?
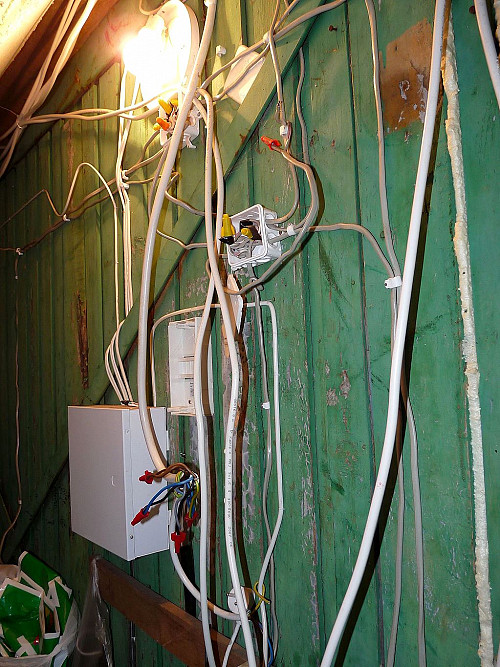
it’s possible your home has actually needed an electrical upgrade for awhile now, depending on when you last had it done. Not only have our electrical demands increased over the years, but the building codes dictating how electrical work is done in homes have also changed to address those increases over the years. If your home isn’t currently up to code, adding new appliances, additional space, outlets, switches, etc. may well require an electrical upgrade in order to keep your home safe, efficient and up to local building codes.
Bathrooms, Kitchens, Workshops, Home Offices and Entertainment Rooms Need More Power
Kitchens and bathrooms are two of the most popular types of remodeling projects, but many families are adding rooms, updating their home offices, adding workshops, etc. All of these new additions or remodels require upgraded, more efficient electrical wiring, and possibly a new electrical panel.
Let’s just discuss the kitchen for a moment, as an example. In older homes, kitchens often didn’t have that many outlets because there weren’t as many small appliances and gadgets in use. Fridges and ovens were smaller and didn’t pull as much juice as today’s larger models either. Today’s building codes require an outlet ever 6 feet away—but we find that for many of our customers, they need outlets spaced around 4 feet from each other

REMODELING & RENOVATION ELECTRICIAN SERVICES
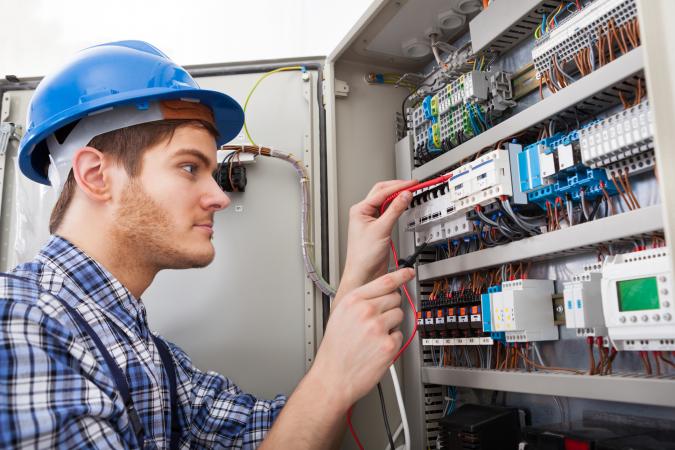
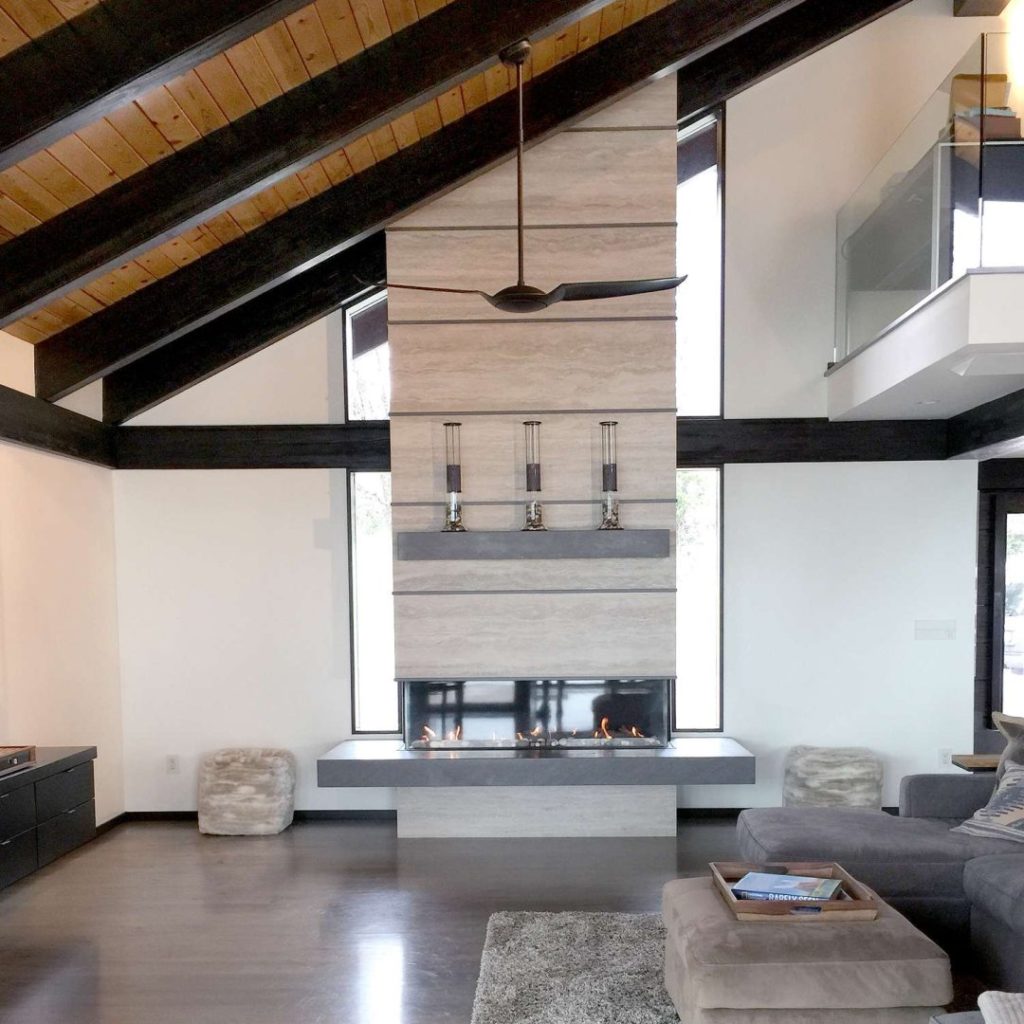
Upgrading your house is an exciting and wonderful moment in the homeowner’s journey. Whether you’re working through a general contractor or overseeing the construction project on your own, you’ll need to bring in an electrician to plan, install, and change up your electrical system
Remodeling your home is a big deal, and you want an electrical contractor that will treat it as important as you do. Electric delivers on your remodeling project expectations by properly mapping out the electrical system with your planned remodeling vision (while also coordinating with the other trade contractors involved in the project).
Handle Electrical Permitting
If you need to add a circuit, you’ll need a contractor who can pull a permit (which will also require updating the smoke detector system up-to-code in older homes).
Out With The Old, In With The New
Our goal in the process is to ensure the things you care about are known and planned out before, during, and at the completion of your remodeling or renovation project. If you’re updating an older home, it’s also common and often advisable to update older aspects of the house including breakers, panels, fixtures, and wiring while you’re already making changes.
Here are some of the many electrical options you have for your home construction project.
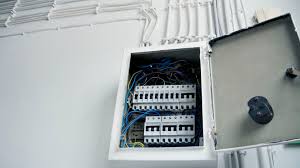
Service panels (temporary poles and permanent panels)
Proper electrical grounding
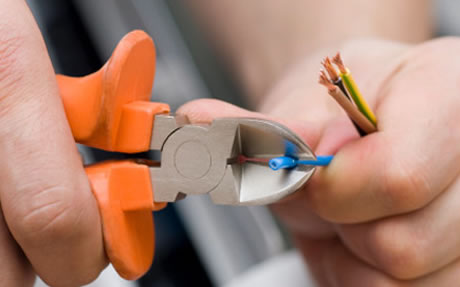
Wall wiring (or rewiring)
Smoke detectors
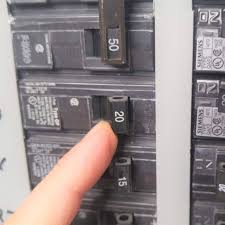
Circuit breakers
GFCI outlets
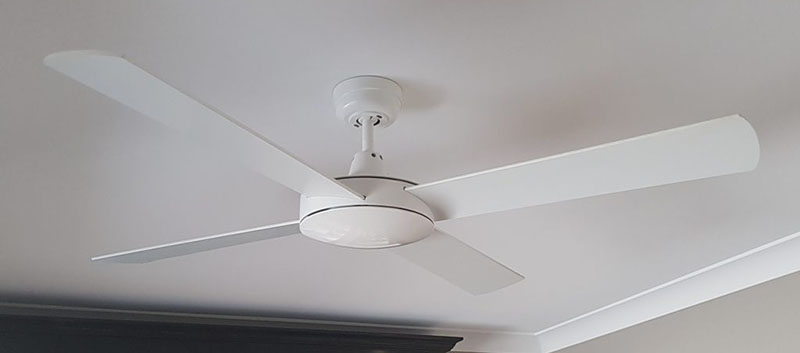
Ceiling fans & fixtures
Outlets, dimmers & switches
Indoor & outdoor lighting
Pendant & under-cabinet lighting (for kitchen remodels)
Smart home features (smart outlets, switches, and dimmers)
Low Voltage Wiring
How Much Does It Cost To Install Electrical Wiring Or A Panel?
Electrical Wiring Cost
Electrical wiring for your home costs $1,327 on average. Wiring or rewiring typically falls between $534 and $2,121. This will depend on how much, what type of work you need done, and how long it will take an electrician to complete.
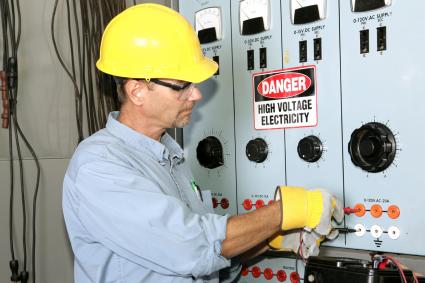
Installing wiring and panels or rewiring a home’s existing electrical system are potentially hazardous home projects. Hire a licensed professional to get the job done safely and correctly.
Electrical Wiring Installation Costs
The average cost of electrical wiring falls between $534 and $2,121. How much you pay will depend on three main factors: the price of the electrical wires themselves, the cost of other materials (like panels), and your electrician’s hourly rate. Your pro should provide all the tools and materials needed to complete the job. These factors will vary depending on where you live as well as the complexity of the project.
Average Wiring Costs per Square Foot
New wires typically range from $6 to $8 per foot. For an additional $2 per foot, you can invest in structured wiring: heavy-duty electrical and data cables designed for modern entertainment and communication devices.
A bid from an electrician will probably not list a separate charge for wiring. In a home where electrical service is already accessible, pros charge a set fee per opening. Openings include switches, receptacles, and fixture boxes. If you want to know exactly what kind of wiring your pro is using and how much you are being charged for the service, you may need to ask.
Residential Electrician New Construction & Remodel
provides electrician and electrical contractor services for home remodeling. Whether you are doing a room addition, creating an inviting outdoor living space, adding a home theatre, or undertaking a substantial renovation of your home, you should work with an experienced, licensed, and Better Business
New Home Construction
In-house electrical plan layout and design
New construction wiring
Custom home wiring
Interior lighting systems
Home automation system wiring
Appliance installation
Home theatre wiring
Home network / data cabling
GFCI (ground fault circuit interrupter) plugs
Surge protection
Ceiling fan installations
Dimmer switches
Recessed can lighting
Track lighting
Spa and pool wiring
Landscape & security lighting
Generator installation
Home Remodeling
Electrical troubleshooting
Electric panel upgrades
Electric service upgrade
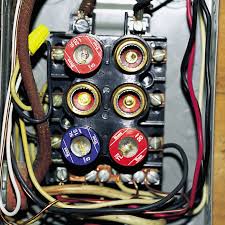
Electric breakers and fuses
Interior lighting
Electrical plugs and switches
Tamper proof plugs
GFCI (ground fault circuit interrupter) plug
Surge protection
Appliance installation
Under cabinet kitchen lighting
Recessed can lighting
Home theatre wiring
Data cabling and home networking
Pool and hot tub wiring
Landscape lighting
Security lighting
Residential backup generators
Electrical wiring of garages, barns, workshops
Riding arena lighting
Riding arena wiring
EXPERT PROJECT MANAGEMENT
Remodeling your home is a big investment. We know because we’ve been there. We work with you every step of the way to make sure your vision becomes reality without unnecessary stress or costs.
Getting quality electrical work and good value is just part of the story. You deserve friendly, prompt service from an electrical contractor who respects your time and home. That’s the Momentum difference.
Feel confident during your remodeling project knowing that Momentum has every electrical detail covered. We know the investment of time, money, and imagination you’ve put into designing your dream home. From energy efficiency to smart homes or just better looking lighting, we are there to help.
Whether working directly for you, or through a general contractor, Momentum keeps you up-to-speed on every aspect of your project, clarifying details and checking your satisfaction in real time. Our proactive approach and team spirit will take the guesswork out of the design and installation of your electrical system.